

For my absorbent body contour and petal soaker sections, I used a couple layers of 100% cotton fleece and a wicking jersey stay-dry top layer.
I serged the petal soaker, but you can also T&T it or make a stay-dry outer rectangular sleeve and then top-stitch it together with the absorbent inner fabrics.

I use a little bit of fabric glue to secure my contour soaker in place inside the cut-out inner PUL. I don't pre-sew the contour layers together though. I just pin.

Sew your contour soaker piece into your cut-out inner PUL.

Detail of the small tight zig-zag stitch I use.


Pin your petal soaker down in place.

Sew your petal soaker down at the ends. I use a tight yet tall well-secured zig-zag stitch.
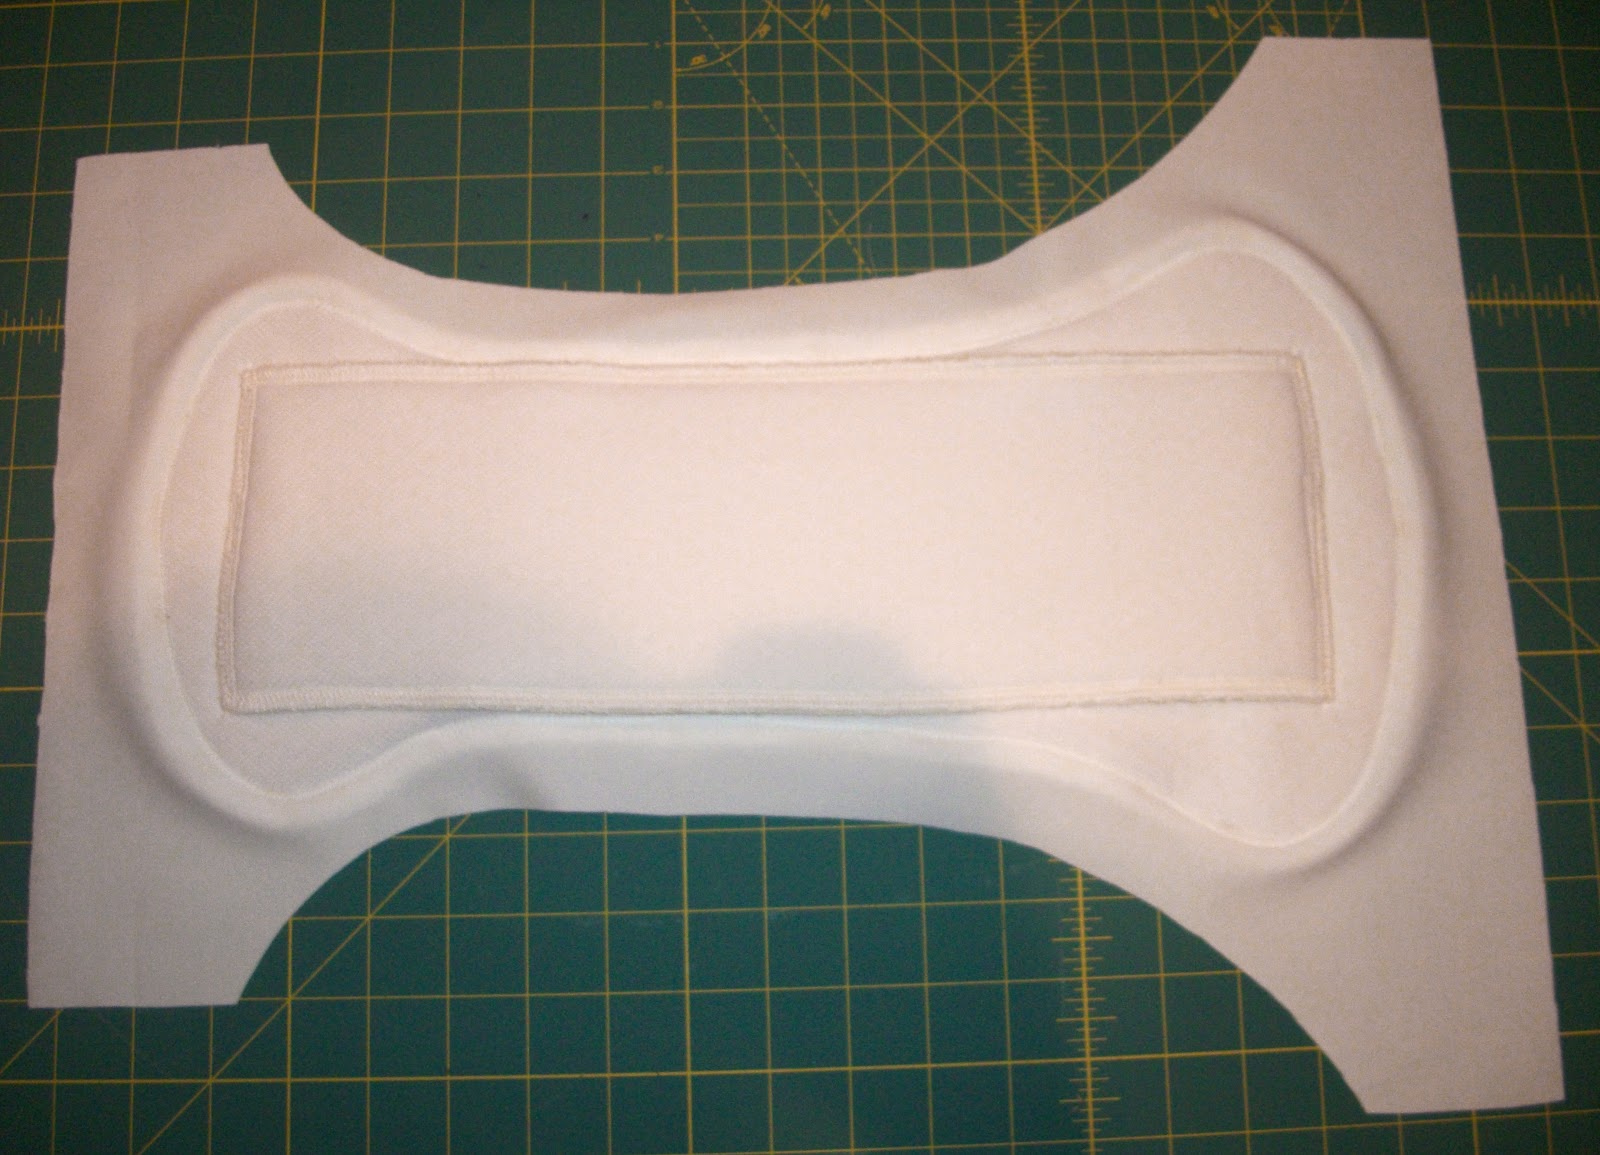
You're assembled body pieces (I used washable glue stick to secure the suedecloth snap-backing).

Apply your rise and front panel snaps (or velcro).

Pin down your petal soaker in the middle so it doesn't get caught in any sewing.

Pin or clip your assembled body pieces with their outsides facing together/inward. Notice the little trick around the edges to prevent the foot from sticking to the PUL... ;)


Sew your body pieces.

Perfect foot-width suedecloth edging... ;)

All sewn together.

Trim and round your corners.


Turn through your turning hole.


Sew your elastic casings and install your elastics. Then close up the turning hole while top-stitching.

Here is a detail photo between the leg elastics. It shows the wicking jersey stay-dry layers and the absorbent under-side of the petal soaker.

Detail of the inside stitch-work.

... and wing snaps.

Top-stitching detail.

Wing snaps and top-stitching detail.

Large


Small

Back

Templates can be downloaded here: http://prefold2fitted.blogspot.com/2012/10/online-free-downloads.html


