So, people on my sewing board have mentioned that they only use a portable sewing machine or a very old one that only has a basic straight stitch. Well, there is LOTS you can do with just a basic straight stitch. For this diaper, you'll only need the standard sewing foot, any old needle, a straight stitch, pretty much any thread since it is a fitted diaper and will require a cover... and of course your prefold and other fabric.
I used a "regular" cottonbabies.com prefold and a very thin T-shirt I found on clearance at the grocery store. Both have been pre-washed/pre-shrunk. I also used my M-L fitted template, but I shrunk the rise just a little to fit onto the pre-shrunk "regular" prefold.


Keep those side scraps. They will become part of your lay-in booster/soaker/doubler.

You will be cutting through 2 layers of fabric on the side of the prefold with the raised seam/fold.


Cut down just a little outside the prefold seam and out to the edge.

I notch out the edge where leg elastic casings will end and to get rid of that little excess.

Fold out the 2 layers of fabric that will make your wings.

Cut out the extra fabric between the outside 2 and 2 along that one side.


Cut out about 1/2-3/4" of the middle fabric at the very front (you'll see why later).

Cut out about 1" of the same area at the back (for the back elastic).

Now cut your other fabric to fit with your cut prefold and round the wings.

Lay together with any print facing inward and the cut up part of the prefold facing outward.

Pin together on the prefold side (you'll be sewing on a woven and no issues with stretchy fabrics).

Sew around the outside leaving a wide turning hole at the front.

You'll need access to the outer channels of the prefold from the front.


Turn through your turning hole.


Sew your elastic casings. Also sew a second seam a little lower across the middle of the back. This is to sew down the cut edge of the prefold there.

First feed your elastic through your back elastic casing channel. You can do this just by feeding through between the prefold and other fabric.
HOWEVER, to feed through your leg elastics, you'll be feeding between the prefold layers (2 on one side and 2 on the other). You'll be able to reach through the main large pocket to remove your bodkin or safety pin once it is fed through the casing.

After tacking the back side of the leg elastics, then sew a seam angled in toward the middle prefold seam. This secures that cut edge of the prefold fabric inside.

Stretch, tack, cut on the front side... repeat on the other leg.


Now, to close up the front cleanly, you are relying on that cut you made earlier across the front.
Fold your outer layers of the prefold, and your other fabric edge in toward eachother.

Secure with clips or pins for a clean evenly folded edge.

Now, close up your turning hole with your top-stitching.

Top-stitch your wings as well, and you're done with the main body of the fitted diaper.

Now, for your insert/soaker/booster...
Unfold, and clean up those cut-off edge pieces of the prefold. I made mine about 4-4.5" wide. I then used some equal sized scraps of the T-shirt to add a couple extra shaped layers as well.
You'll want a fabric rectangle at least twice the length that the soaker pieces take up.

Sew them down around the edges.

Fold the other fabric behind.

Sew around the edge (leave turning hole) to make your sleeve and trim the corners.

Turn through your turning hole.

Top-stitch around the perimeter (while closing your turning hole) and a line down the middle.


Fold in half to use.
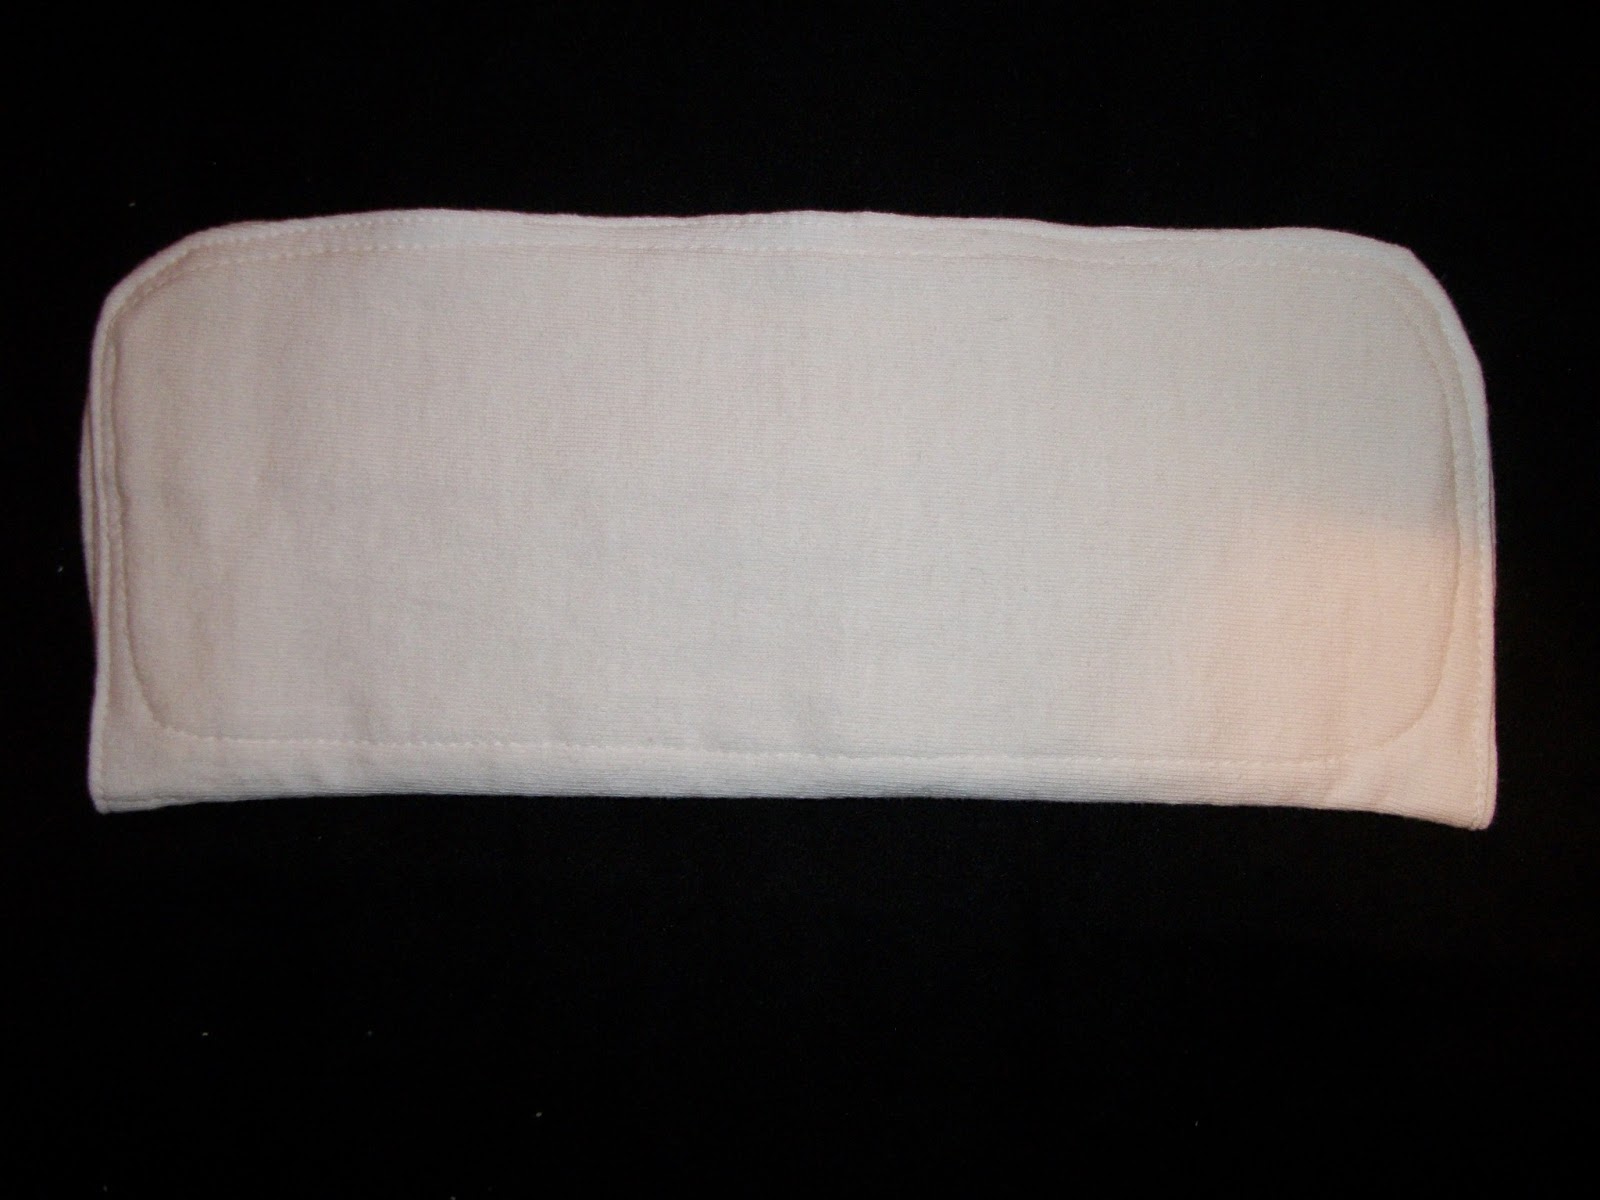
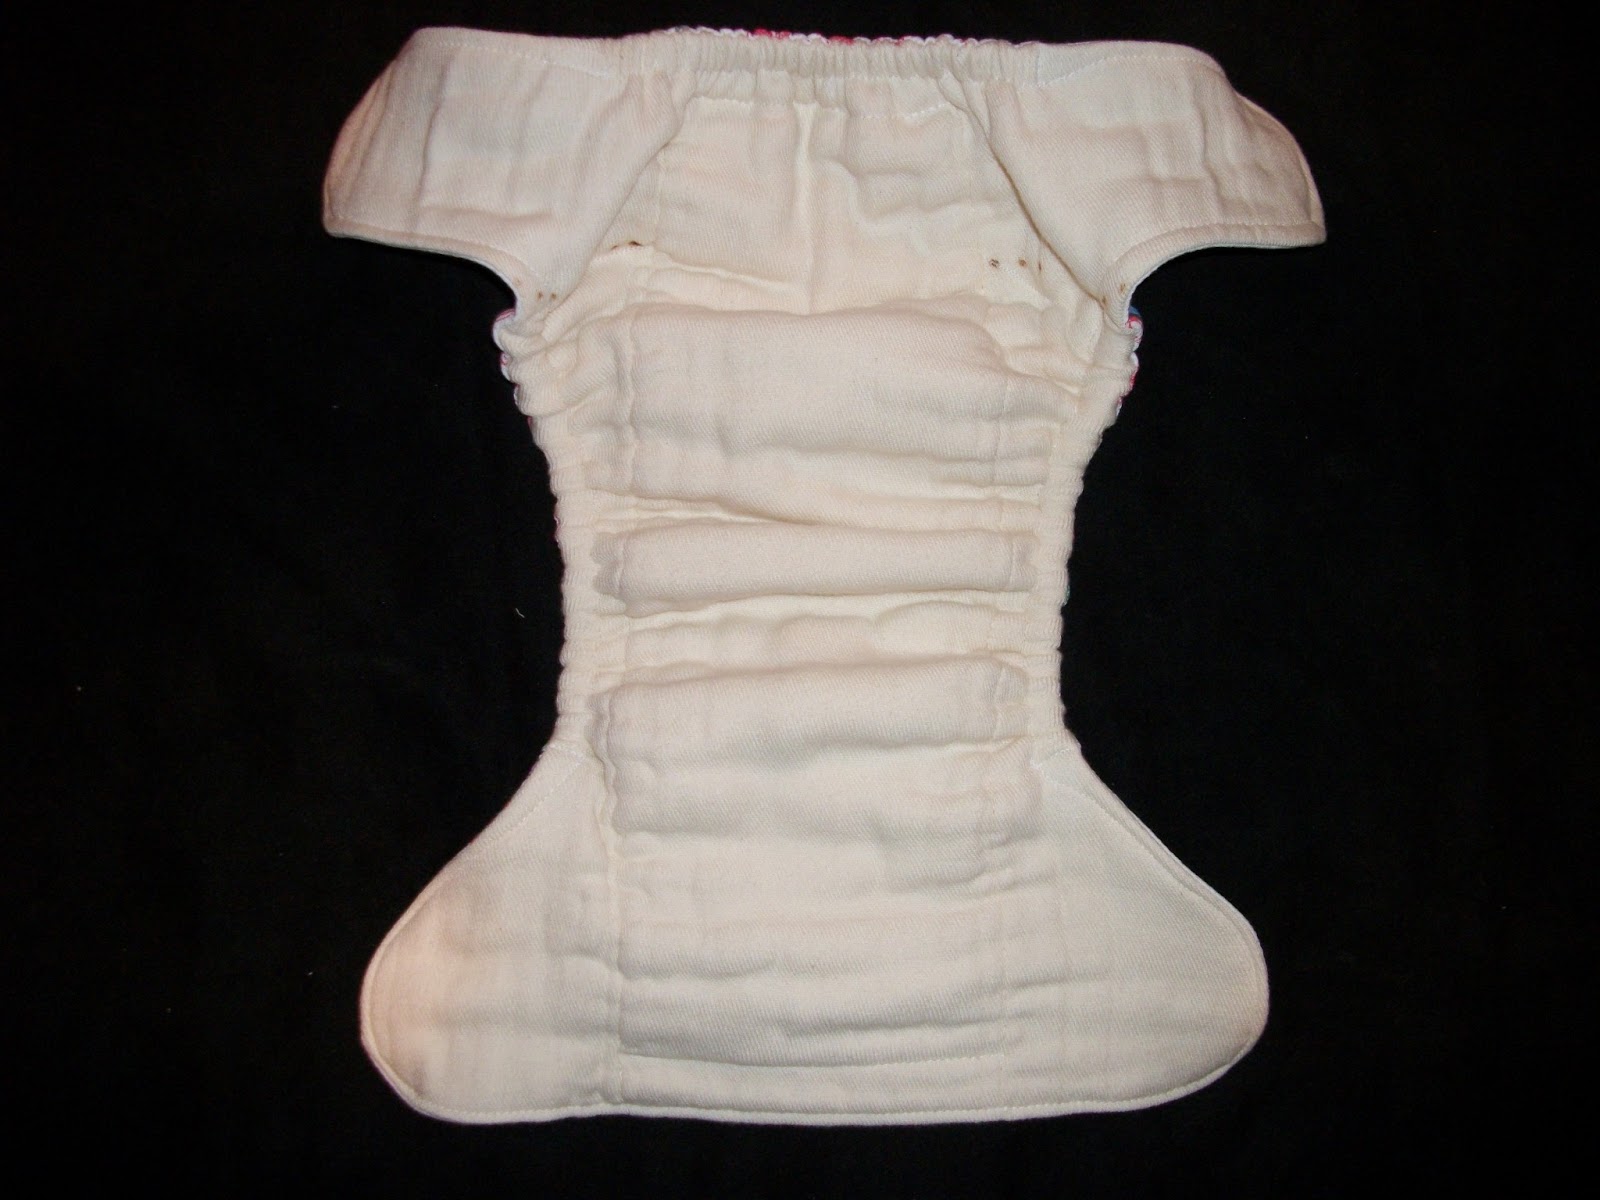
Here is how the soaker/booster looks inside the prefitted.

Full rise fitted diaper:


Simple fold-down rise.

Smaller rise and closed up:

Templates can be downloaded here: http://prefold2fitted.blogspot.com/2012/10/online-free-downloads.html
I don't understand how to do elastic casings. :-( can I put in the elastic before I turn it. That's how my pocket diaper patterns are just curious. I'm excited to try this. Tired of not having a good "seal" with my prefolds and with new babies coming I need to figure out cheaper diapers.
ReplyDeleteIt really is very simple to feed the elastic through pre-sewn casings. You *could* do it the turning way, but the elastic would only be under the one outer layer and would wear through and it'd be very thick between that and the baby and not have as good a fit either. You really should at least try casings my way and see how you like them. People usually like the final product better once they try it this way. You can get a much cleaner casing and more even elastic result.
DeleteDo you have a g tutorial on making casings? Or should I check out you tube. I've just never done one so I need to see good explanation. Btw I love that marvel pattern
ReplyDeleteOk I will try it today. Hope it a works better than my pattern. The elastic always gets messed up. :-(
DeleteThe casings worked great! I don'tmake the elastic long enough in the legs but it was a trial. Thank you for a great tutorial.
ReplyDeleteGreat tutorial, Arfy, but I think I'm blind... I am not finding the "fold-over rise fitted templates" in the list!
ReplyDeleteIt is the ruffle fitted. It just doesn't have to be sewn ruffled. :) Just cut roughly from that template and use these directions. ;)
DeleteOh, okay, awesome! Thank you:)
ReplyDelete