Wednesday, April 4, 2012

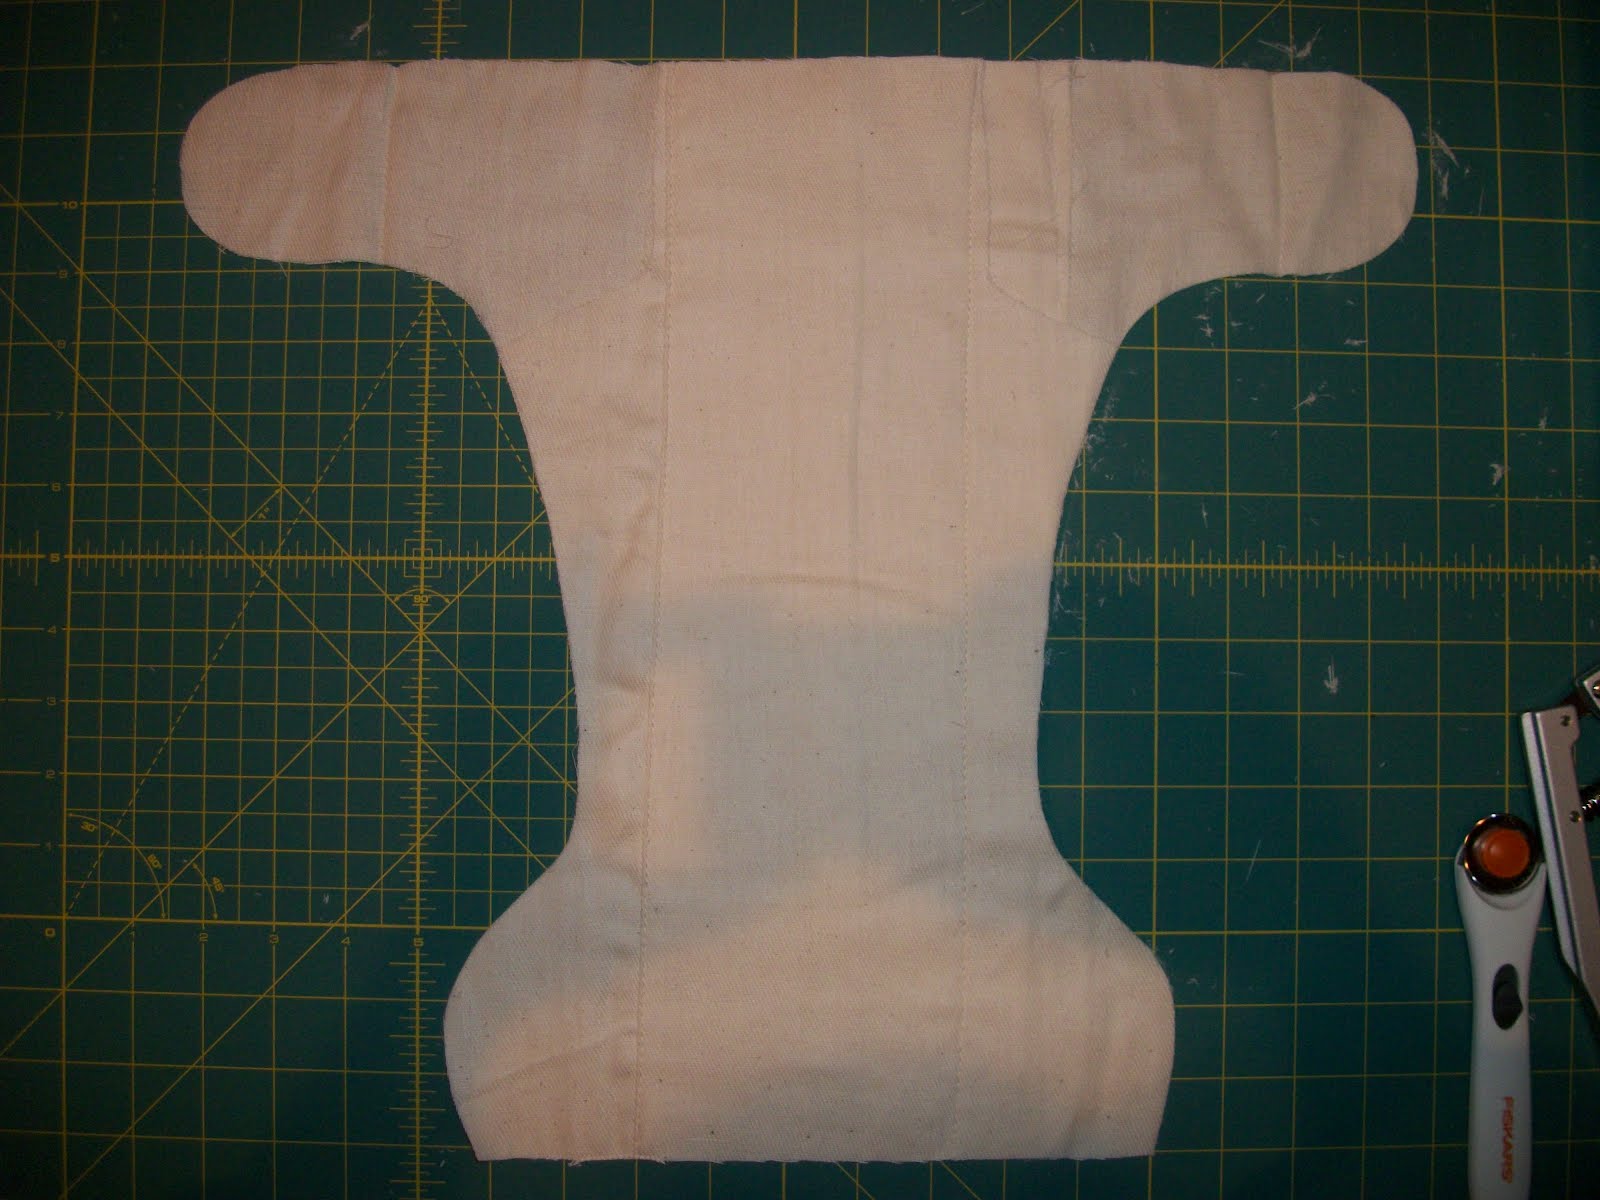
T&T Doll Diaper

Just a basic no-elastic and no absorbency doll diaper template... I am thinking of trying a few with PUL outers or just 2 layers of fleece with removable inside soakers for wetting dolls.


Saturday, March 10, 2012

Non-Serged Detail-Oriented Prefitted

This updated VIDEO tutorial might be easier and give a cleaner result.

Now a beautiful prefitted for those of you not blessed with sergers!
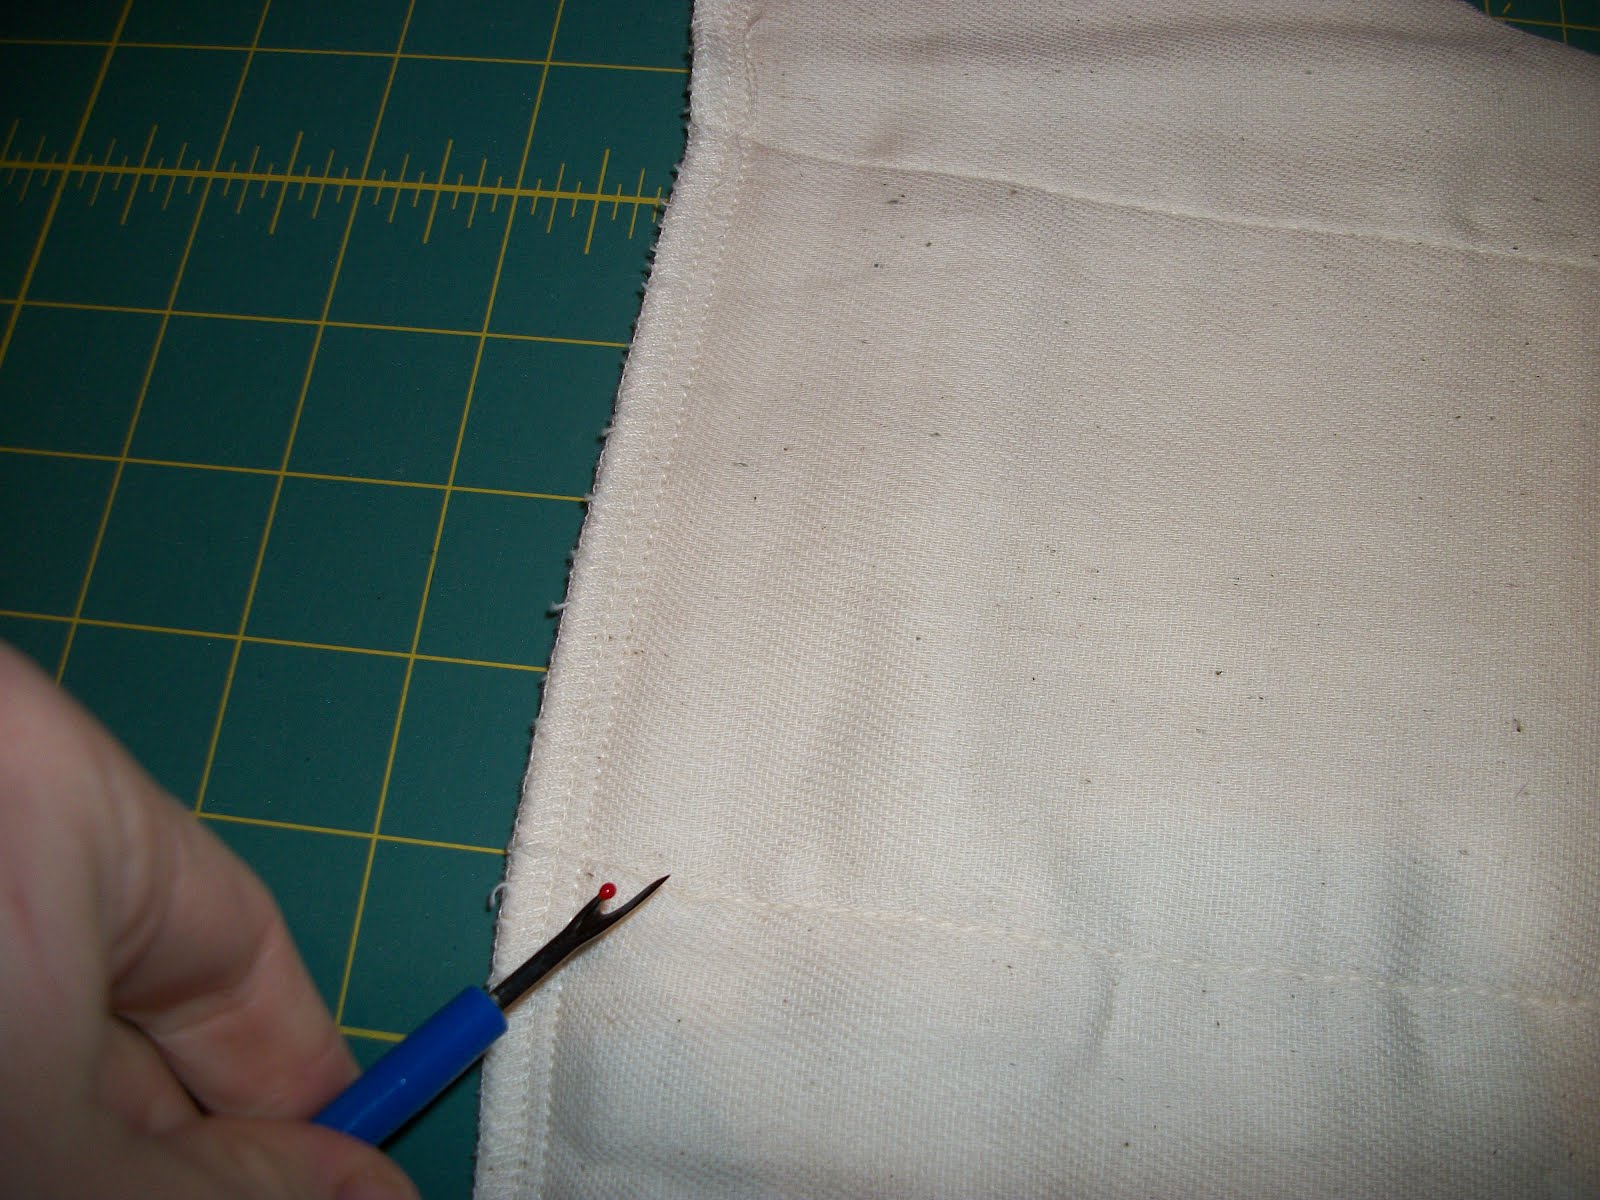
Cut out your fitted shape making sure there is enough room around the middle seam for double your elastic casing width. Leave the serging on the ends intact! Cut out the excess fabric from one side around the leg casing. Fold the outer 2 and 2 layers inward about 3/8" and pin in place leaving about 2" open at the top/back of each side. Close up of the area that will be left open. Sew down with an even straight stitch about 1/8" from the edge or closer. Use your seam ripper to pop the top 3-4 stitches at the back holding down the middle layering on your prefold. On the side without the exposed fold showing, about 1" to each side of those middle layers, cut down about 3/8"-1/2" through only the top two layers. I used a safety pin here to show the slit fabric. Now, sew a straight seam from a little beyond that slit and about 1/2" down from the edge of the serging to just past the other slit at the back to make your back elastic casing. Sew your leg casings the same way. Close-up showing the top of one leg elastic casing. Use a safety pin to feed the elastic through your small slits through your back elastic casing. Tack down, remove the pin, and then tuck in the exposed end of the elastic. Use a short length and wide width zig-zag stitch to close up the fabric and sew down the first side of the back elastic completely. Stretch your elastic to your desired tension and set in place with your pin. Cut your elastic about 1/2" longer than you need and tuck into the opening to conceal the end. Zig-zag down the other end like the first and remove your safety pin. Run the leg elastics the same way. You can sew them down normally though since there was no hole cut in the fabric. Then trim the elastics and sew up the little bit of opening at the top/back of each side by folding the fabric in again and top-stitching close to the edge. It makes for a very clean-looking finish. The front isn't quite as pretty unless you really want to mess with tucking around sharper corners. I just finish those edges by folding the edges in a little bit and zig-zagging over the raw edges to fray-stop. It is fast and secure though. :) Now here are your cutout extra fabric scraps laid over each other and trimmed down a little. Trim them down to about 4-4.5" wide and even them up a bit. Sew around the most of the outside a good 1/4" in. Invert through the end you left unsewn: Pin in that end and sew/top-stitch all around the outside of the soaker/doubler.
Here is your finished non-serged prefitted. :)
Soaker can be laid-in or stitched down on the end(s). Front. Rear-view showing the back elastic.

Seamless Extended-Wing Prefitted Example

Jahnavi from baabaababy.us is brilliant with her seamless extended wing prefitteds. Such a simple solution that just never even occurred to me before she released that tut. http://baabaababy.us/2011/10/seamless-extended-wing-prefold-conversion/
(UPDATE: It has come to my attention that her tutorial is down, so there are more visuals in some of my other tutorials showing the prep for this method: http://prefold2fitted.blogspot.com/2013/04/turned-and-top-stitched-t-shirt.html )

However, I had never made prefitteds with a cover fabric before that either. So, I'll forgive my brain for not thinking of it first. ;)

So, here is my prefold all cut down like her tutorial explains. From here you can really either make a serged or a turned and top-stiched (T&T) fitted. Having that outer/top layer really gives a lot of options!
Trim down that little bit of excess fabric down one side around where your leg elastic casing will be:
Lay over your fabric (I'm just using flannel here) and cut out your top fabric layer:
Use your cutting scraps to make a doubler/soaker for inside:
Here is all your cut fabric pinned together and ready to start sewing:
Undersides:
From there, I just did my "basic serged prefitted" method:
Insides:
I did a fold-over rise with snaps for this example:
All done on the inside:
Outside:
Highest rise closed up:
Lowest rise closed up: