Showing posts with label recycled materials. Show all posts

Wednesday, August 17, 2011

T&T Pocket Fitted Diaper

I ran out of black thread... BUT, it makes it easier for you to see the stitching this way. ;)

To follow up the last tutorial, I decided to do turned and top-stitched version of the same diaper. This one has about half the absorbency though and would rely more on inserts.
Cut your fabric. I am using recycled pajama pant fabric and cotton terry (towel fabric) for this one's absorbent layers.
I sewed in an extra terry layer for the wet-zone.
Sew on the front "loops" velcro strip through these two fabric layers.
Lay over your inner fabric (I am using black Alova suedecloth again). This time have your outer print facing the soft side of the suedecloth. Pin or clip.
Sew or serge around all of the outside except about 7" in the middle of the back.
Turn right-side-out.
Sew your leg elastic casing channels.
Thread, tack, stretch, tack, and trim your elastic.
Sew the edge down on the inner fabric to make the pocket opening. Then sew your elastic casing channels for the back elastic (leave enough open on the sides to thread the elastic).
Thread, tack, stretch, tack, and trim your back elastic. Then sew up the edges of the back fabric there and do your top-stitching.
Sew on your velcro tabs and laundry tabs.
Here it is stuffed with a Bumgenius one-size microfiber insert plus a cotton/hemp insert.
That would be one fluffy butt! However, it is a good overnight solution for heavy-wetters. :)


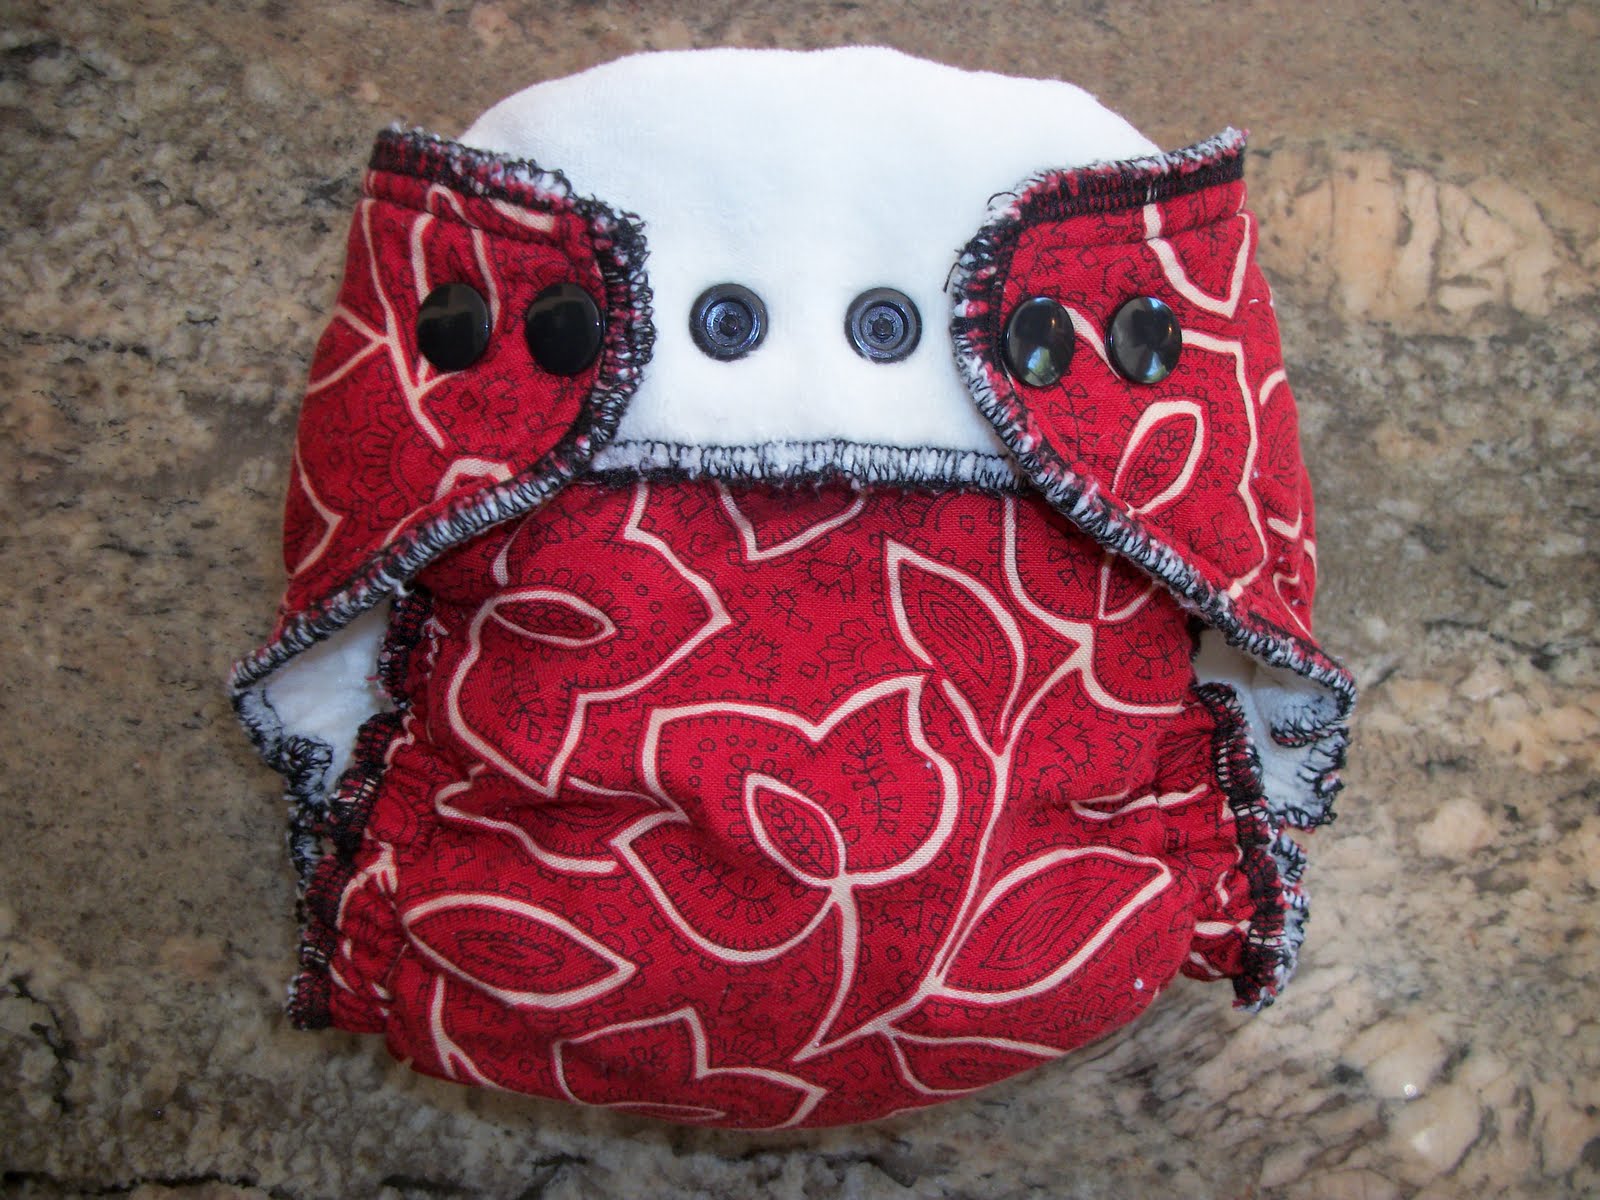
Pocket Fitted Diaper

This is one that I made a while ago for my daughter Sara. It is bamboo velour (defective seconds fabric) inner, recycled towel soaker layers, and a remnant piece of cotton woven fabric for the outer.
I did the one for the tutorial with velcro because it was done by request. I dislike velcro/aplix/touchtape diapers for myself.
It uses some recycled pajama fabric for the outer, amazon contour and terry, and Alova suedecloth for a "stay-dry" inner material.
There are a few ways you can do the body layering.
First cut your outer fabric to your diaper pattern. Then add one layer of your soaker layer material and sew on your front "loops" velcro strip at this point.
You can use flannel receiving blankets, old towels, flats, or any absorbant new material for the soaker layers as well.
When I use terry, I like to use the pieces remaining from cutting out the diaper pattern shape to make a middle thicker wet-zone soaker. Trim it down to a small enough size to fit inside where your elastic will be, and sew in place onto your absorbant middle layer. You can also save these good-sized scraps for future pocket inserts or lay-in/snap-in soakers.
Cut your inner material (black suedecloth in this case).
Everything is layered correctly, cut, and pinned together.
Serge around the outside leaving the front and most of the back open (if you will be doing a turned and top-stitched diaper, do your layers such that your outer fabric's print and your inner fabric's baby-touching side are facing each other. See the T-shirt Diaper tutorial for a visual on this method).
Sew your leg elastic casing channels.
Thread your elastic through (I used 3/8") using a safety pin. Tack in place, stretch to desired tension, tack the other end, and trim.
Fold over and sew the inner layer about 1/2" to finish your pocket opening edge.
Sew your back elastic casing channels through the other layers.
Thread, tack, stretch, tack, and trim your elastic.
Sew/serge up the back of the diaper leaving the pocket opening. Serge/sew up the front of the diaper, and do an extra seam across at about 1/4" in to reinforce the front of the "pocket."
Reinforce the outside edges of the pocket opening and sew on your wing velcro "hooks" and your "loops" laundry tabs.
Finished diaper with pocket opening showing and tabs folded in against laundry tabs.
Sara's snapping version after several washes and wearings...
One reason I prefer snaps is the simplicity of the fold-over rise.

Monday, August 15, 2011

Amazon Contour Fitted Diaper #2


Today's amazon contour-to-fitted tutorial uses two cotton flannel contour diapers to make one heavy-duty fitted diaper. :) I'll post up a better finished photo after diaper laundry when the marker is washed out. ;)


What you'll need:
- 3/8" braided elastic
- 2 amazon cotton flannel contours
- safety pins
- sewing machine (only a straight basic stitch is needed)
- thread (I used contrasting for more visibility, but white would look VERY clean)
- scissors

(optional - snaps, velcro, or diaper pins)

Lay one contour over the other.
Trace or sketch your general diaper shape leaving seam allowance.
Cut your two body panels out together.
Cut off the 4 largest chunks of the remaining scrap pieces to be used to extend the wings.
Sew them onto the wings.
(Sew your velcro now if you are doing velcro closures.)
Lay both diapers together with the "ugly sides" out and trim up the wing and back shape.
Sew (or serge) around all but the middle 7" at the back.
Turn right-side-out.
Sew your leg elastic casing channels.
Thread your elastics through with a safety pin, tack, stretch, tack, and trim...
Sew your back elastic casing channel.
Thread and tack your elastic, sew up the back/top of your diaper, and do all your top-stitching.
Add snaps if desired. I did a two-rise fold-over rise snap layout. (the marker will all wash right out)

After about an hour of wear, they rest a little low on my 28lb 36" tall toddler's hips, but they fit fine and move well with her. There are two snap settings wider remaining in the hip width too.
I had her crawl around the floor to make sure the rise was high enough over her butt for a larger crawling baby, and they passed that test just fine too. :)
I would guess that the total materials cost for this diaper are under $1.20. Considering the cost of the elastic used, the thread used, the snaps used, and the two contours ($0.67 for them). It would be under $1 if pinned. It was very quick to make too.