Tuesday, November 27, 2012

Non-Serged Insert or Absorbent Soaker

Now there is a VIDEO tutorial up on YouTube as well!


I'm sure that you've all noticed that I usually serge my inserts and AI2/AIO soakers. However, I know most people aren't blessed with the huge time-saver that is called a serger. ;) In fact, I've only had my serger for about a year.

Today I was helping out a fellow cloth diaper-sewing mom and showed her how I always just did my inserts before. However, she told me of a method that she had read about that, while it may have an extra step or two, is probably easier to get a cleaner final product out of for most people.  ;)

So, here is an adaptation on the method she told me about using some scraps I had laying out in my sewing room.

For this example, I used a scrap of "Zorb2," 4 layers of hemp jersey, and a "stay-dry" wicking jersey outside fabric. You can really use anything absorbent though, and you don't need any stay-dry layers unless you want them. I typically only do my top face stay-dry if anything at all. You can use terry cloth (upcycled old towels or washcloths), microfiber terry, cotton sweatshirt fleece, cotton jersey, knit, or interlock (upcycled T-shirts), bamboo, cotton, or hemp fleeces or sherpa... Really, there are SOOOO many options for inserts. The absorbency of the materials you choose will dictate the total number of layers you should use. I don't recommend making inserts too thick though, because they'll take longer to wash and dry and not come clean as easily (hold residues and get build-up). I prefer doing multiple thinner petal-style inserts, or an insert and matching smaller/thinner doubler. You can also do two thin inserts and sew them together on just the ends or one end so they wash and dry more easily but still stay attached. :)

Start by cutting the absorbent inner fabric layers to the size and shape you want your finished insert to be.  Then, cut two pieces of the fabric for the outside of the insert 1/2" bigger than the inside pieces all the way around.

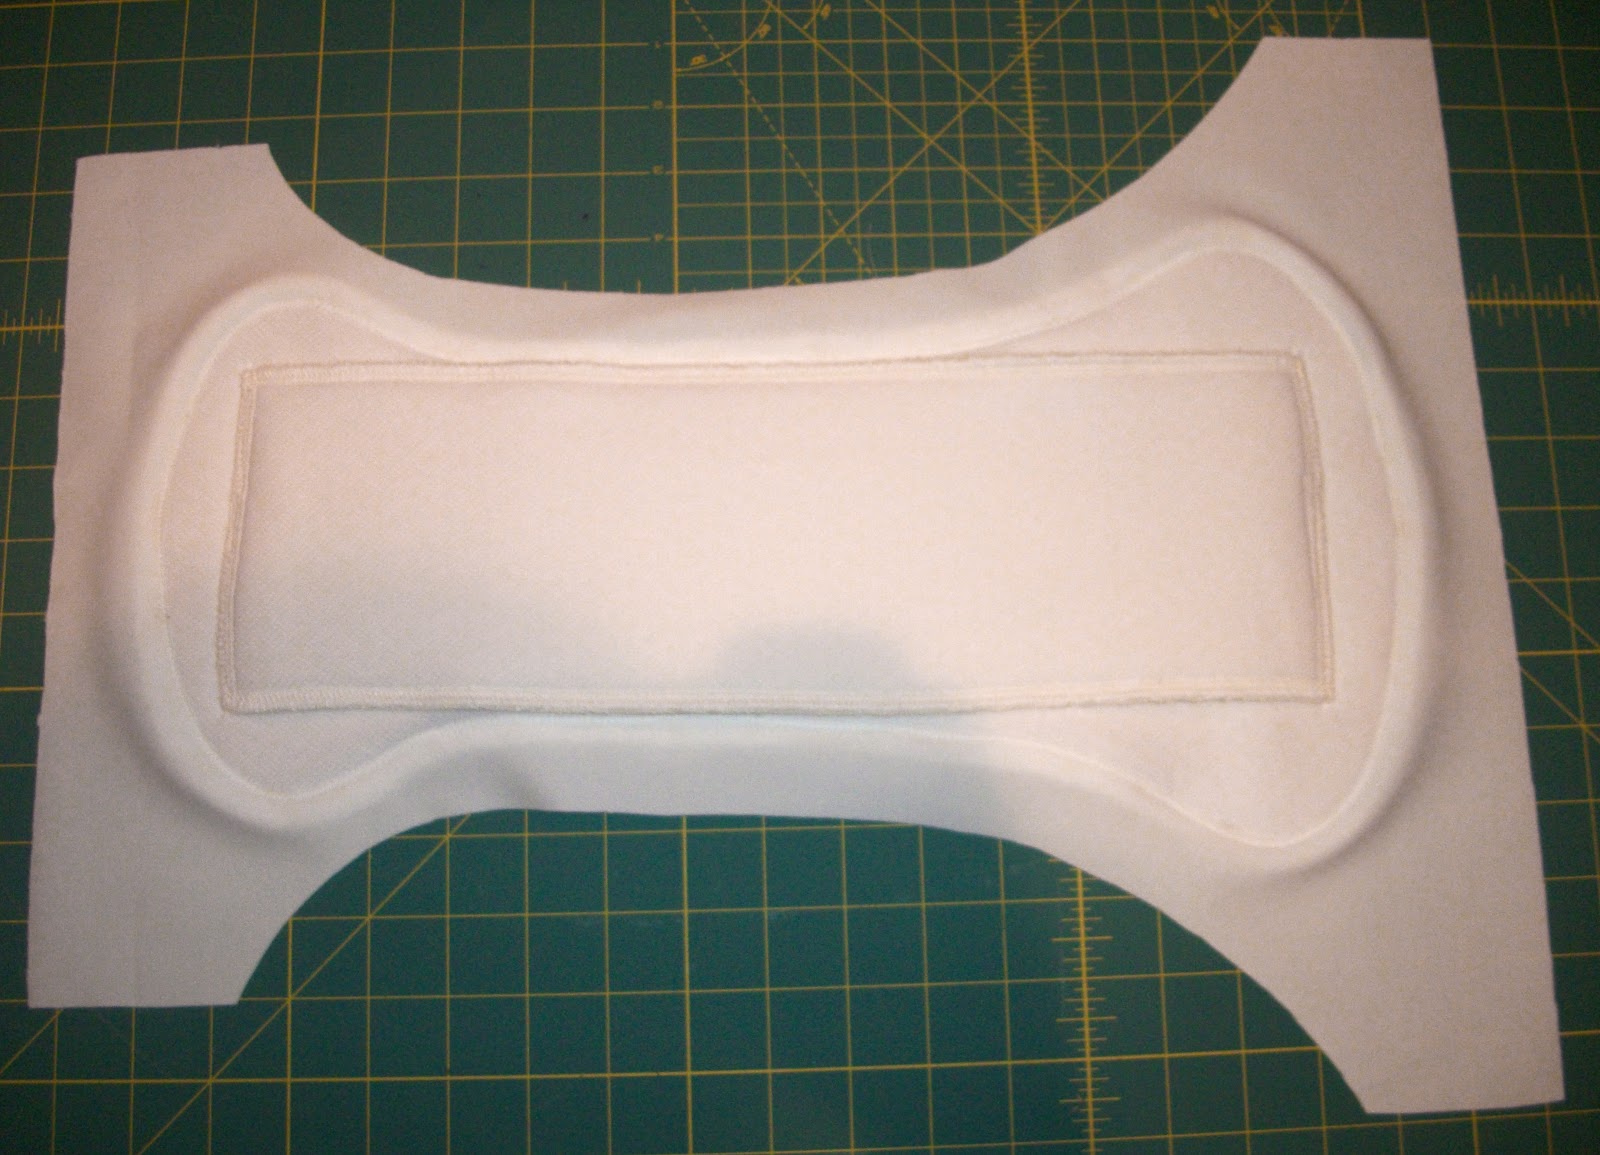
Here are some examples of different inside absorbent materials laid over the larger outer fabric: 
Here I have hemp jersey pinned onto wicking jersey:
Use a wide large zig-zag stitch and sew around the very edge of your absorbent (Zorb 2 here) material:
Prepare 2 faces and then pin them together with their outside-facing sides facing in/together:
Next, use a straight stitch and sew just outside the absorbent layers when sewing them together:
Leave a turning hole on one end, and then trim your corners:
Turn right-side-in through your turning hole:
 IF you will be using the insert as a snap-in soaker, apply your snap(s) now:


 Nice hidden cap(s) with padding both above and below:
 Close up your turning hole:
 View of the under-side with the snap stud:
 Ignore my messy top-stitching...

Sunday, November 25, 2012

One-Size Stay-Dry All-in-One

This pictorial is for a stay-dry All-in-One diaper.  I used my one-size square tab template with the AIO inner template.
For my absorbent body contour and petal soaker sections, I used a couple layers of 100% cotton fleece and a wicking jersey stay-dry top layer.

I serged the petal soaker, but you can also T&T it or make a stay-dry outer rectangular sleeve and then top-stitch it together with the absorbent inner fabrics.
I use a little bit of fabric glue to secure my contour soaker in place inside the cut-out inner PUL.  I don't pre-sew the contour layers together though.  I just pin.
Sew your contour soaker piece into your cut-out inner PUL.
Detail of the small tight zig-zag stitch I use.

Pin your petal soaker down in place.
Sew your petal soaker down at the ends.  I use a tight yet tall well-secured zig-zag stitch.
 You're assembled body pieces (I used washable glue stick to secure the suedecloth snap-backing).
Apply your rise and front panel snaps (or velcro).
 Pin down your petal soaker in the middle so it doesn't get caught in any sewing.
Pin or clip your assembled body pieces with their outsides facing together/inward.  Notice the little trick around the edges to prevent the foot from sticking to the PUL...  ;)

 Sew your body pieces.
 Perfect foot-width suedecloth edging...  ;)
All sewn together.
Trim and round your corners.

Turn through your turning hole.

Sew your elastic casings and install your elastics.  Then close up the turning hole while top-stitching.

Here is a detail photo between the leg elastics.  It shows the wicking jersey stay-dry layers and the absorbent under-side of the petal soaker.
Detail of the inside stitch-work.
 ... and wing snaps.
Top-stitching detail.
 Wing snaps and top-stitching detail.
Large

 Small
Back

Saturday, November 24, 2012

At today's fabric store run...

Today, while at one of my local fabric stores, I met another diaper-sewing mama and her friend.  If you ladies read this, I am making two diapers this week in your honor.  One will be a one-size stay-dry petal-soaker all-in-one, and the other will be a stay-dry pocket mock Grobaby.

If you ladies contact me, you can pick them up for free at any time in the next month or two (until I open shop again after the holidays).  If you don't want them, I'll just list them on my shop when it opens again.  ;)

I'll post up step-by-step pictorials of these two diapers for everyone else to see after I sew them up.  :)

- Arfy

Sunday, November 18, 2012

One-Size Hybrid Fitted


I have been seeing people writing about "hybrid fitteds" a lot lately.  Basically, they are just a fitted with a layer of fairly heavy poly fleece on the outside.  This provides some moisture-proofing because it repels moisture back into the diaper.  It isn't really suitable for an overnight diaper (without a cover which would add even more bulk), or for going out.  However, they make a great option as a sort of semi-AIO (all-in-one) for around the house or playing outside.  Especially for babies who are just wearing a diaper and shirt or diaper and dress during the day.  :)

I used my OS Multiwing Fitted template at the middle wing length for this pictorial.  It could be made turned and topstitched or serged.  I chose to do serged for the sample.

First, choose your fabrics.  You'll need a heavier weight poly fleece like anti-pill or blizzard for your outside layer.  Then I used cotton fleece for the middle and cotton velour for my inside layer.
Cut out your fabrics.
 Mark your rise snaps (and front snaps if doing snap closures).
 Apply those snaps on the top two layers only (and/or front loop strip if doing H&L).

 Pin all of your layers together (in final order for serged, or outside faces facing inward for T&T).
Inside/Underside view.
Serged together on all but the front (for installing elastics).
 Sew your elastic casings.
 Add your snap-in soaker snap (if using a snap-in soaker).


 Install your elastics.
 Serge up the front and do any top-stitching or detail stitching.
Add your wing snaps (or hook and loop on wings).
 
Inside without snap-in soaker.
Velour-topped soaker snapped inside.