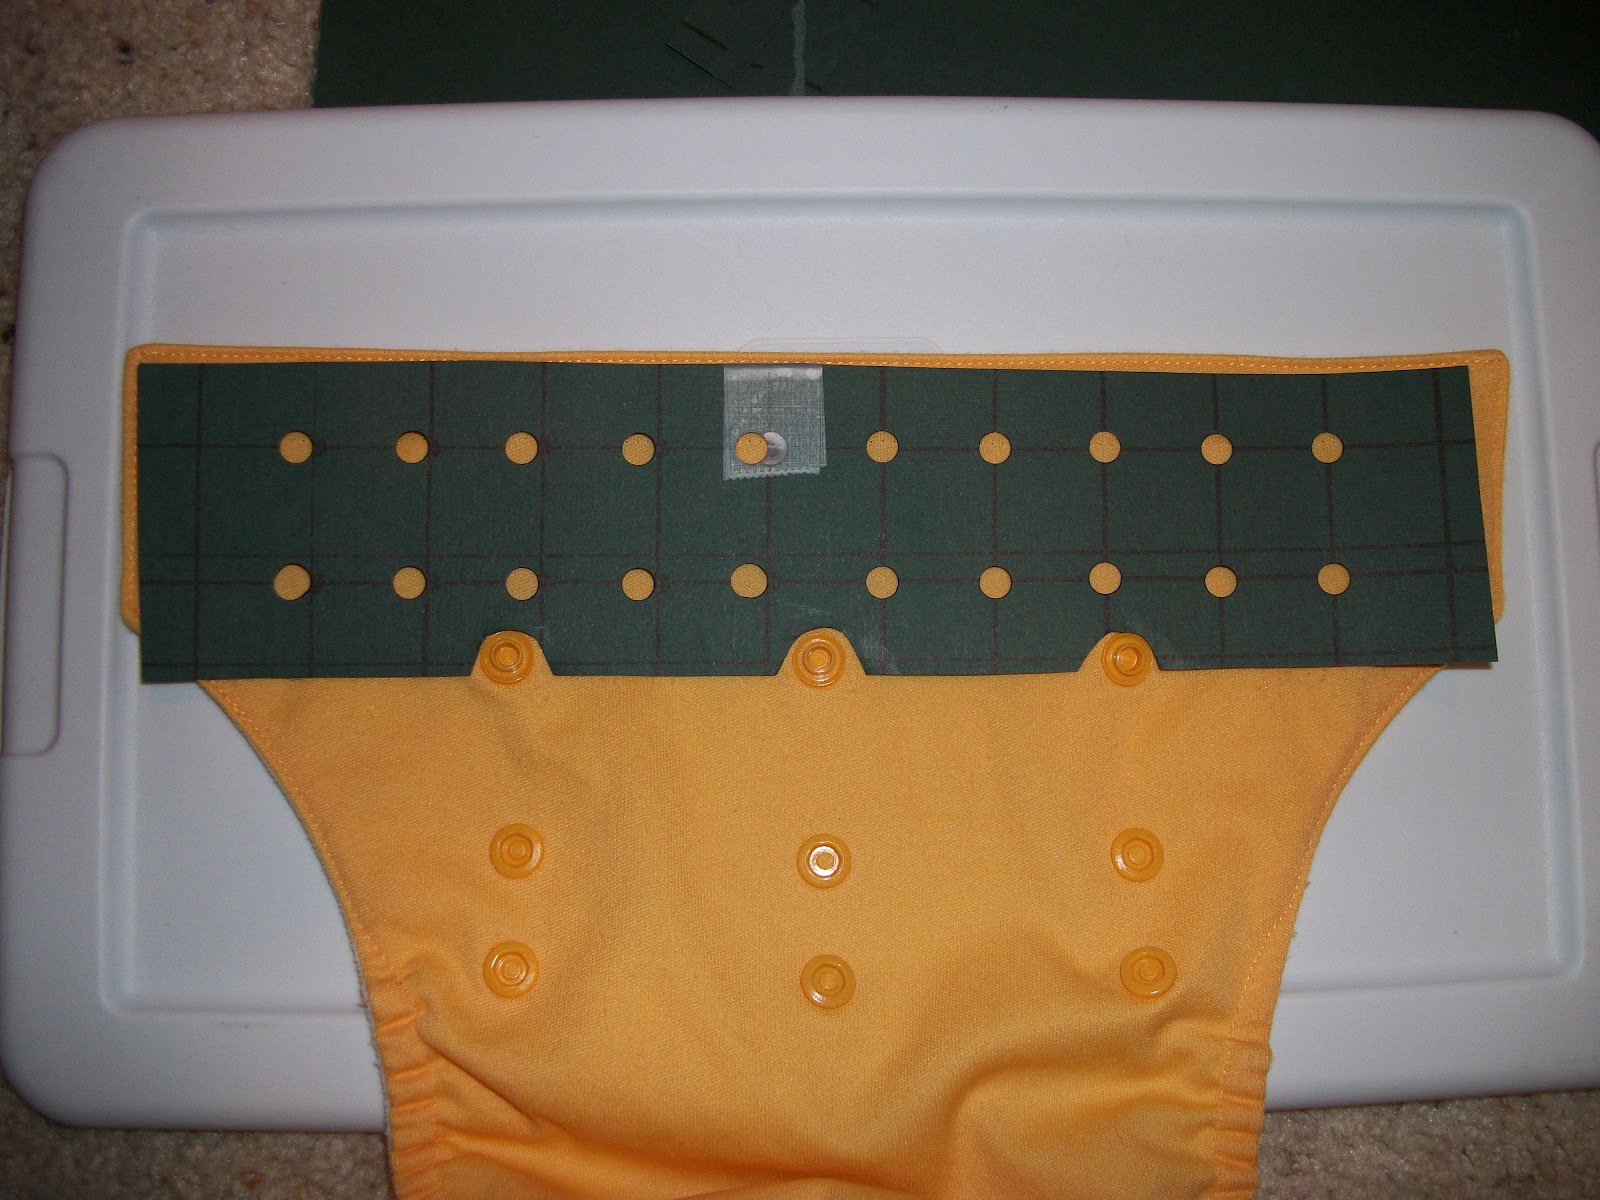
I picked up a bunch of end-of-life Bumgenius 3.0 pockets that needed their aplix and elastic replaced. So, since I've already done a general elastic-replacing tutorial (with pockets you can open them up on the inside though for a cleaner removal), I figured this was a good opportunity to show how I do snap-conversion from aplix to snaps on pre-sewn pocket diapers. :)
First, use your seam-ripper to CAREFULLY remove all the aplix/velcro/hook&loop pieces from the diaper.
Then mark where you'll be placing the front panel snaps (I use washable pen). I made this little template out of cardstock. The middle holes are 1"x 1 1/8" apart. Then out from there they are 7/8" apart side-to-side and 1 1/8" apart top to bottom. I then cut out notches to fit around the 3 rise snaps to keep the spacing consistent from diaper to diaper. I trim around the outside to fit just inside the edges of the diaper to see well for the most even placement.
To apply your snaps, simply hold a cap in one hand (your left if you are right-handed) and puncture through the PUL side with the awl at your hole marks. Insert the cap through the hole you've just made (from INSIDE the pocket).
Now place your socket onto the cap and remove your hand from the inside of the pocket. Use it to hold the cap and socket together while you press them with your other hand (I use snap pliers, but you can also use a snap press... www.kamsnaps.com).
Continue on all the front socket snaps...
Add your caps and studs to the wings so that they fit easily with the spacing on your front sockets.
And you're done! No sewing involved, and the only seam-ripping is the removal of the aplix. :)